Getting started v3
This is latest version
We recently updated Booking.JS to version 3 which no longer depends on jQuery.
Booking.js by Timekit
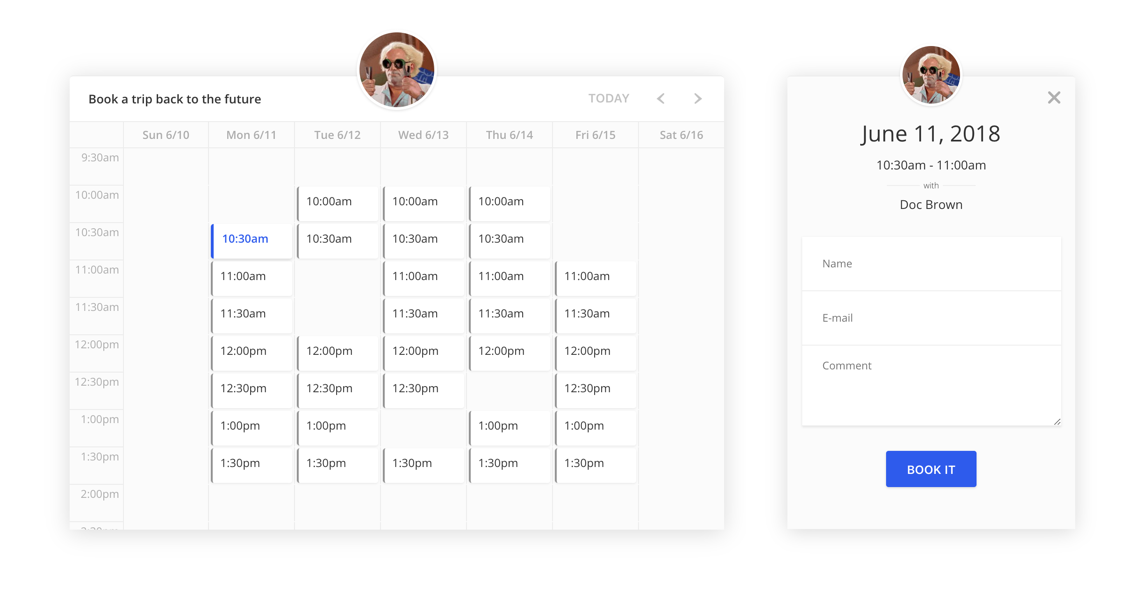
Make a beautiful embeddable booking widget in minutes running on the Timekit API

Getting Started
You need a Timekit account
The widget requires an account on Timekit to fetch availability and create bookings. It needs somewhere to book your appointments. Navigate to admin.timekit.io to get started in less than a minute!
This is docs for version 3
Our previous version 2 is still supported for backwards compatibility, Getting started v2
There are two ways we recommend using our Booking Widget:
For non-developers, you set up your project from our user interface in admin.timekit.io. For this, you will never need to touch any code - You can find the share snippet inside the project settings from our admin.
For developers where you can configure the widget on-the-fly for granular control over the configuration. While we recommend creating projects for your widget(s), it is not necessary and might not cover all use-cases. Timekit provides you with a modular and flexible API platform that allows you to integrate availability and bookings deep into your own product.
Installation
Load from CDN
To ensure that we can push out updates, improvements and bugfixes to the library, we recommend that you load the library through our CDN. It's hosted on Amazon Cloudfront so it's snappy enough for use in production.
<link rel="stylesheet" href="https://cdn.timekit.io/booking-js/v3/booking.min.css" />
<script type="text/javascript" src="//cdn.timekit.io/booking-js/v3/booking.min.js" defer></script>
Install through NPM
The module is published on NPM and can be require'd as a UMD/CommonJS/AMD (or in a script tag).
# Install using npm, or you can also use yarn
# yarn install timekit-booking
npm install timekit-booking --save
Dependencies
- None
Initialization
Autoload
The simplest and most universally compatible usage is to start with the following example
<!DOCTYPE html>
<html>
 <head>
  <meta charset="UTF-8">
  <title>Timekit</title>
  <link rel="stylesheet" href="https://cdn.timekit.io/booking-js/v3/booking.min.css" />
 </head>
 <body>

  <div class="main">
    <div id="bookingjs"></div>
  </div>

  <script type="text/javascript" src="https://cdn.timekit.io/booking-js/v3/booking.min.js"></script>
  <script>
      var widget = new TimekitBooking();
      widget.init({
        app_key: 'test_widget_key_9PSBiY2z8iLHdIMbWhPs8WhOpaifhP1a',
        project_id: 'e02fc0af-4bd0-4644-a677-3ba4e818ff34'
        // optional configuration here.. (read more under: configuration)
      });
   </script>
</body>
</html>
Instantiation
If you intent to run multiple instances or want more control over initialization order, create a new instance. This is ideal for usage in single page applications like Angular.js, where you'd injecting <div id="bookingjs"> async in your template and control it through JS in your controller/directive/component code.
<div id="bookingjs"></div>
<script src="https://cdn.timekit.io/booking-js/v2/booking.min.js" defer></script>
<script>
  var widget = new TimekitBooking();
  widget.init({
    app_key: 'test_widget_key_9PSBiY2z8iLHdIMbWhPs8WhOpaifhP1a',
    project_id: 'e02fc0af-4bd0-4644-a677-3ba4e818ff34'
    // optional configuration here.. (read more under: configuration)
  });
</script>
Authentication
The widget connects to the Timekit API behind the scenes and requires a Timekit account.
Supply your App Widget Key to the app_key config variable. You can find the key inside the "API Settings" section in our admin panel.
The key is granted access to all your resources and projects within your account. It is however only capable of hitting certain endpoints so your account stays secure when using the widget in a public browser environment.
Updated over 3 years ago
