Emails Templates
Customize customer facing booking emails.
Timekit's new email templating feature allows you to customize following customer facing booking emails:
- Customer email when booking is created i.e. Notify customer of booking
- Customer email when booking is cancelled i.e. Notify customer of cancelled booking
- Customer email when booking is declined i.e. Notify customer of declined booking
- Customer email when group booking is created i.e. Notify customer of group booking
- Customer email when booking reminder is sent i.e. Remind customer of booking
Feature availability
Please be advised email templates is only currently available on the Platform and Enterprise plans. This feature is also unfortunately not available for the free trial accounts to test.
Step-1: Click on "Templates" menu on the left side
Once you click on Templates menu you will be presented with 5 customer facing email templates for booking emails.
- Customer email when booking is created i.e. Notify customer of booking
- Customer email when booking is cancelled i.e. Notify customer of cancelled booking
- Customer email when booking is declined i.e. Notify customer of declined booking
- Customer email when group booking is created i.e. Notify customer of group booking
- Customer email when booking reminder is sent i.e. Remind customer of booking
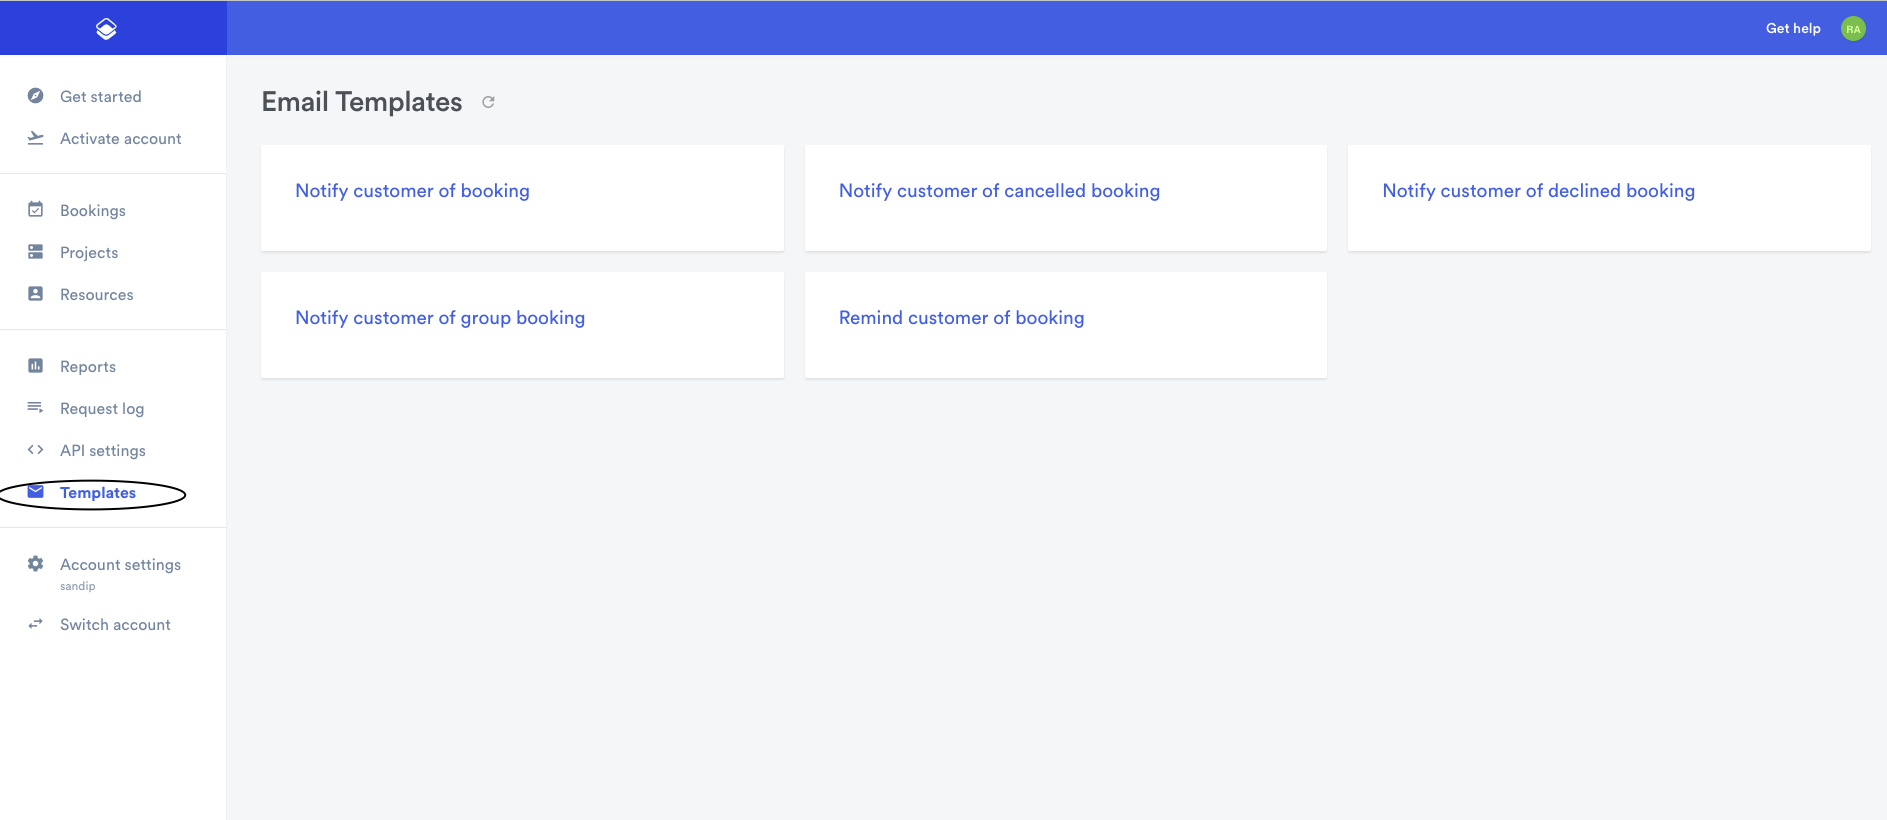
Step-2: Select email template
Once you selected email template you want to override it will show screen below:
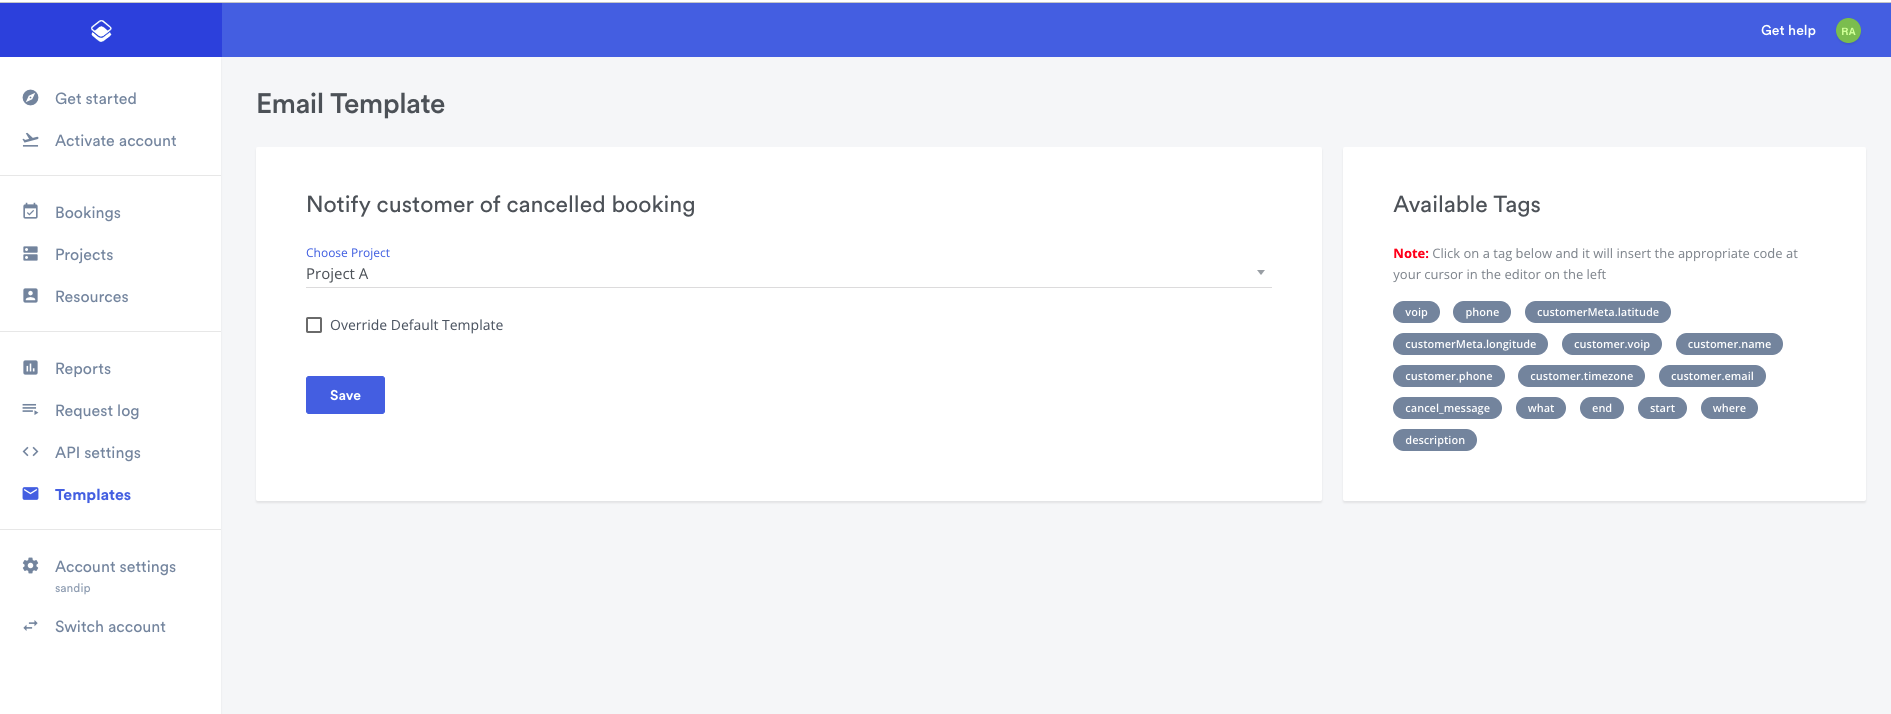
It will show name of the email that you want to override along with project dropdown. You can select project from the dropdown to apply this email template to specific project.
You can then see a checkbox called "Override Default Template" by default this option is turned off and TimeKit will send default email.
If you decide to override our default template with your code you can select this checkbox. Once checkbox is selected it will present with blank twig editor as shown below:
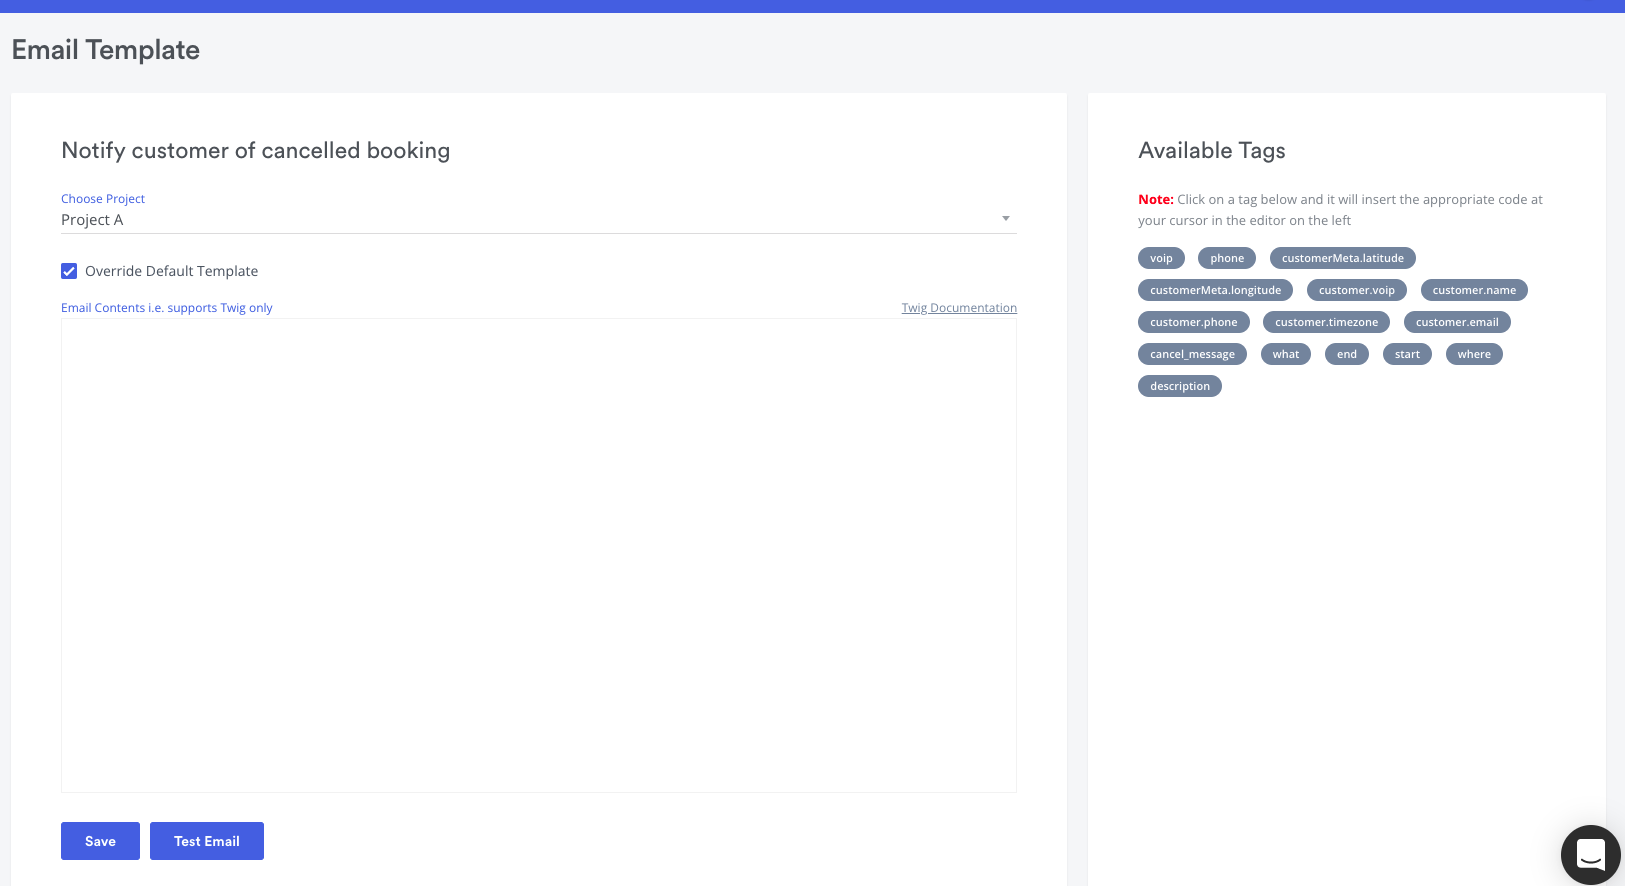
We support twig for our email template make sure to checkout documentation on Twig before you start overriding your email template to prevent email issues.
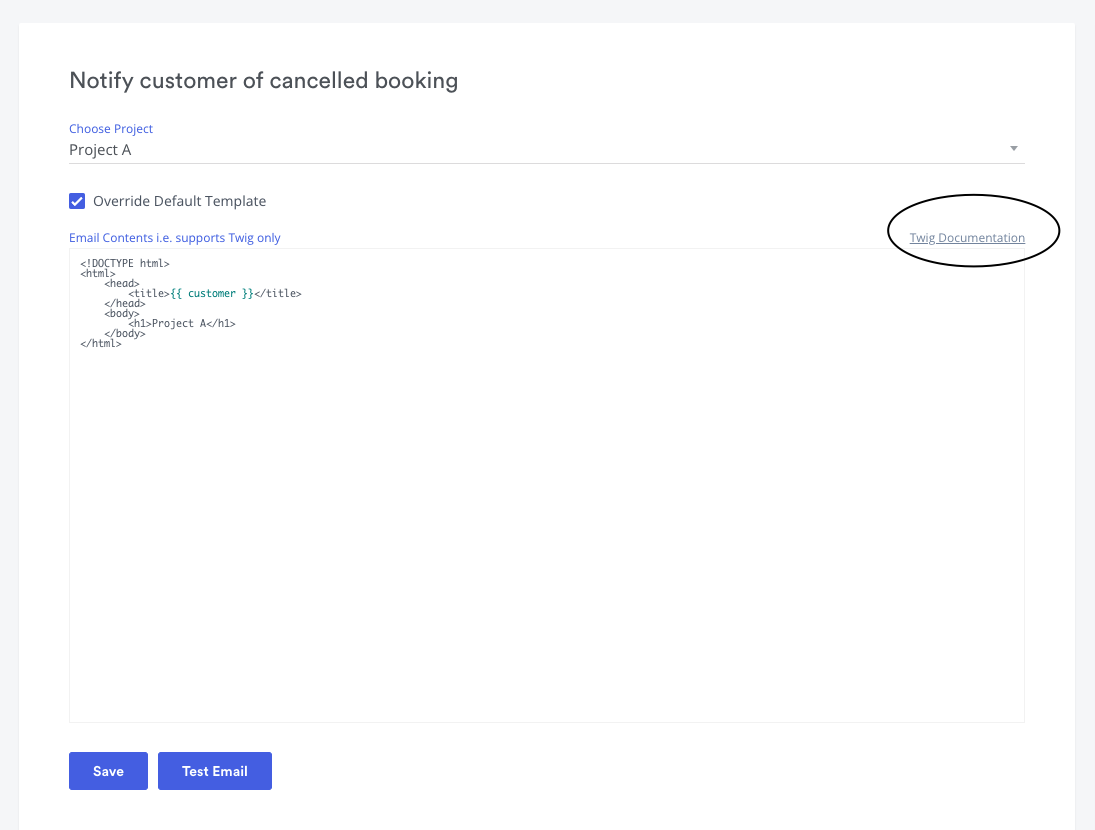
In order to check twig documentation you will see a documentation link on top right of the editor as shown below:
Step-3: Insert available tags for your email template
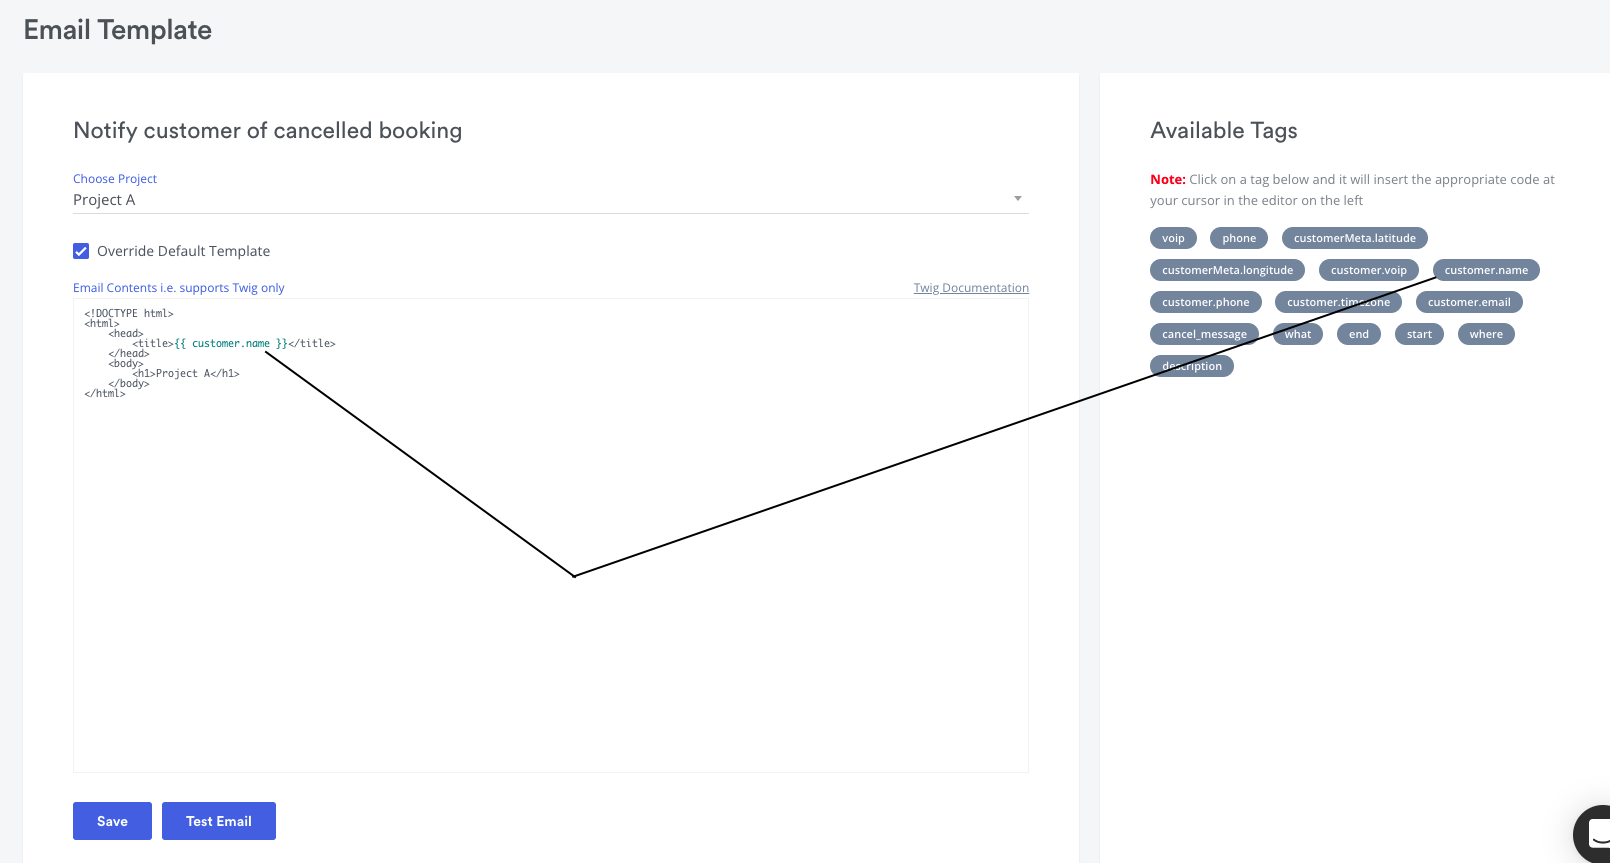
You can append dynamic variables available in "Available Tags" card on the right. Place the cursor in your editor where you want to add new tag, now click on the tag that you want to append. It will insert the tag where your cursor was placed before you clicked the tag.
Tags are like variables that you can use to customize your email template. We only support available tags at this moment which are enough to provide you the data you need for your customer email.
Step-4: Test your changes
Once you know how to insert dynamic tags and create your own email template using twig documentation. You can now test your changes before you save them.
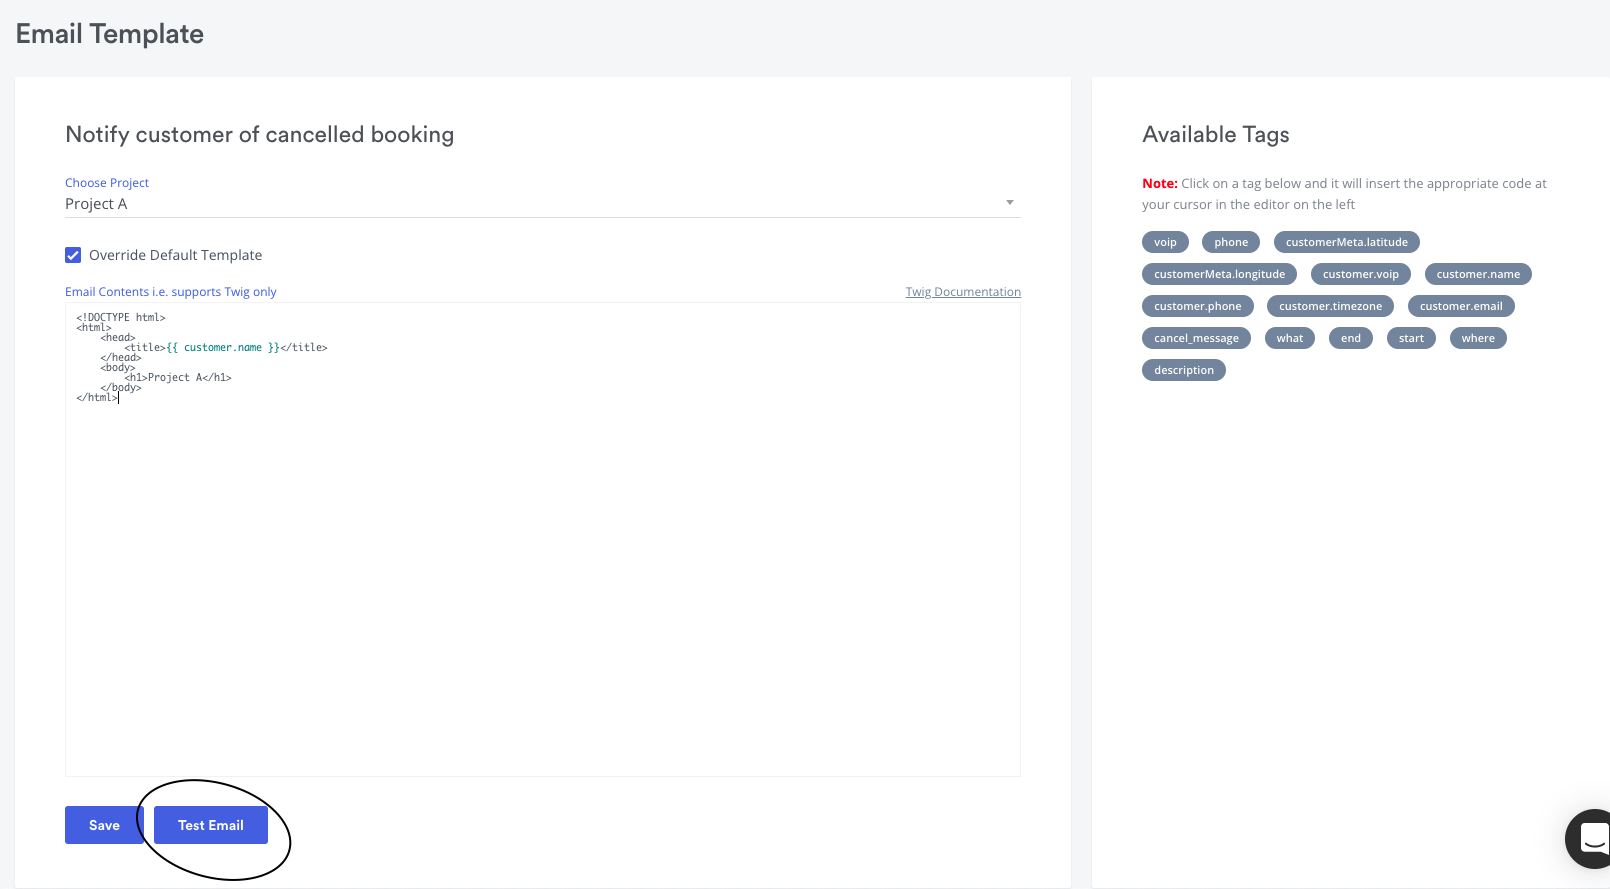
In order to test your changes click on "Test Email" button as shown below:
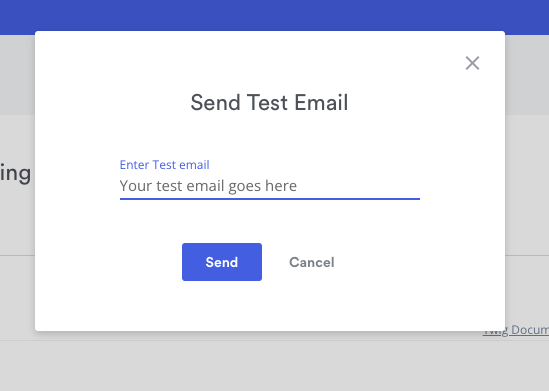
Clicking Test Email button will open a new popup as shown below, enter email address where you want to send your new email template preview and then click on Send button.
Open your email inbox and verify new email template changes before you save and publish them live.
Available Tags
Note
Following tags are list of all tags used in all email templates. You can only use once that are available in email template while editing your email template.
| Tag | Description |
|---|---|
| voip | Customer Voip |
| phone | Customer phone |
| booking.state | State of your current booking |
| booking.graph | Graph used for current booking |
| booking.project.slug | Slug for your project related to your booking |
| booking.project.name | Name of your project where this booking belongs |
| booking.resource.voip | Voip for owner of the booking |
| booking.resource.name | Name of the owner of the booking |
| booking.resource.phone | Phone of the owner of the booking |
| booking.resource.timezone | Timezone of the owner of the booking |
| booking.resource.email | Email of the owner of the booking |
| customerMeta.* | In email template we provided sample tag longitude and latitude in customer meta however this field is dynamic. This field basically represent Customer Fields in your project, grab the slug from your customer fields and use it here manually. For example: if you added a new phone field in customer field you can use customerMeta.phone tag in your email template. |
| customer.voip | Voip of the booking customer |
| customer.name | Name of the booking customer |
| customer.email | Email of the booking customer |
| customer.timezone | Timezone of the booking customer |
| customer.phone | Phone of the booking customer |
| location.meta.* | Metadata of the location. Uses tags similar to the customerMeta tags For example: When adding store information to a location you can use things like location.meta.t_store_id, location.meta.t_store_phone, etc |
| location.name | Name of the location |
| location.description | Description of the location |
| service.name | Name of a service being offered at a location |
| service.image_url | Image for the given service |
| service.description | Description of the service |
| cancelUrl | link for cancelling your booking |
| rescheduleUrl | link for rescheduling your booking |
| start | start date for the booking |
| end | end date for the booking |
| what | The title of the booking |
| where | A description of the location of the booking |
| description | A description of the booking |
| seats | No of filled seats for group bookings |
| cancel_message | Message provided during cancelling the booking |
| decline_message | Message provided during declining the booking |
Updated about 1 year ago
