Jump to Content
Timekit API reference
DocumentationAPI reference
SupportSign in to AdminTimekit API reference
SupportSign in to Admin
DocumentationAPI reference

Introduction

  • Welcome 👋
  • Working with our API
  • Before you start
  • API reference
  • Help center

Account

  • Your account
  • API-key
  • Test & Live Mode

Resources

  • Resources overview
  • Creating resources
  • Resource availability

Projects v2

  • Projects overview

Availability

  • Availability overview
  • Constraints
  • Using the endpoints

Bookings

  • Bookings overview
  • Understanding bookings
  • Creating bookings
  • State change on bookings
  • Group & class bookings
  • Notifications & webhooks
  • Action links
  • Building a rescheduling flow
  • Customer Split Name
  • Emails Templates

BookingJS Widget v3

  • Getting started v3
  • Advanced Configuration

Booking.js Widget v2

  • Getting started v2
  • Advanced configuration
  • Using it with React, Vue etc.
  • Customization guides
  • Open Source on GitHub

JavaScript SDK

  • Open Source on GitHub

Search/filter

  • Search overview
  • Searching for resources
  • Searching for bookings
  • Scoping with signed search

Integrate

  • Connect to Zapier
  • How to build a customer booking overview
  • Signed webhooks

Timekit Store Appointments

  • Introduction
  • Store Appointments Widget
Powered by 

Test & Live Mode

Suggest Edits

When you sign up for Timekit you begin with an app in test mode. This is your sandbox where you can try out all the features of Timekit before you go live.

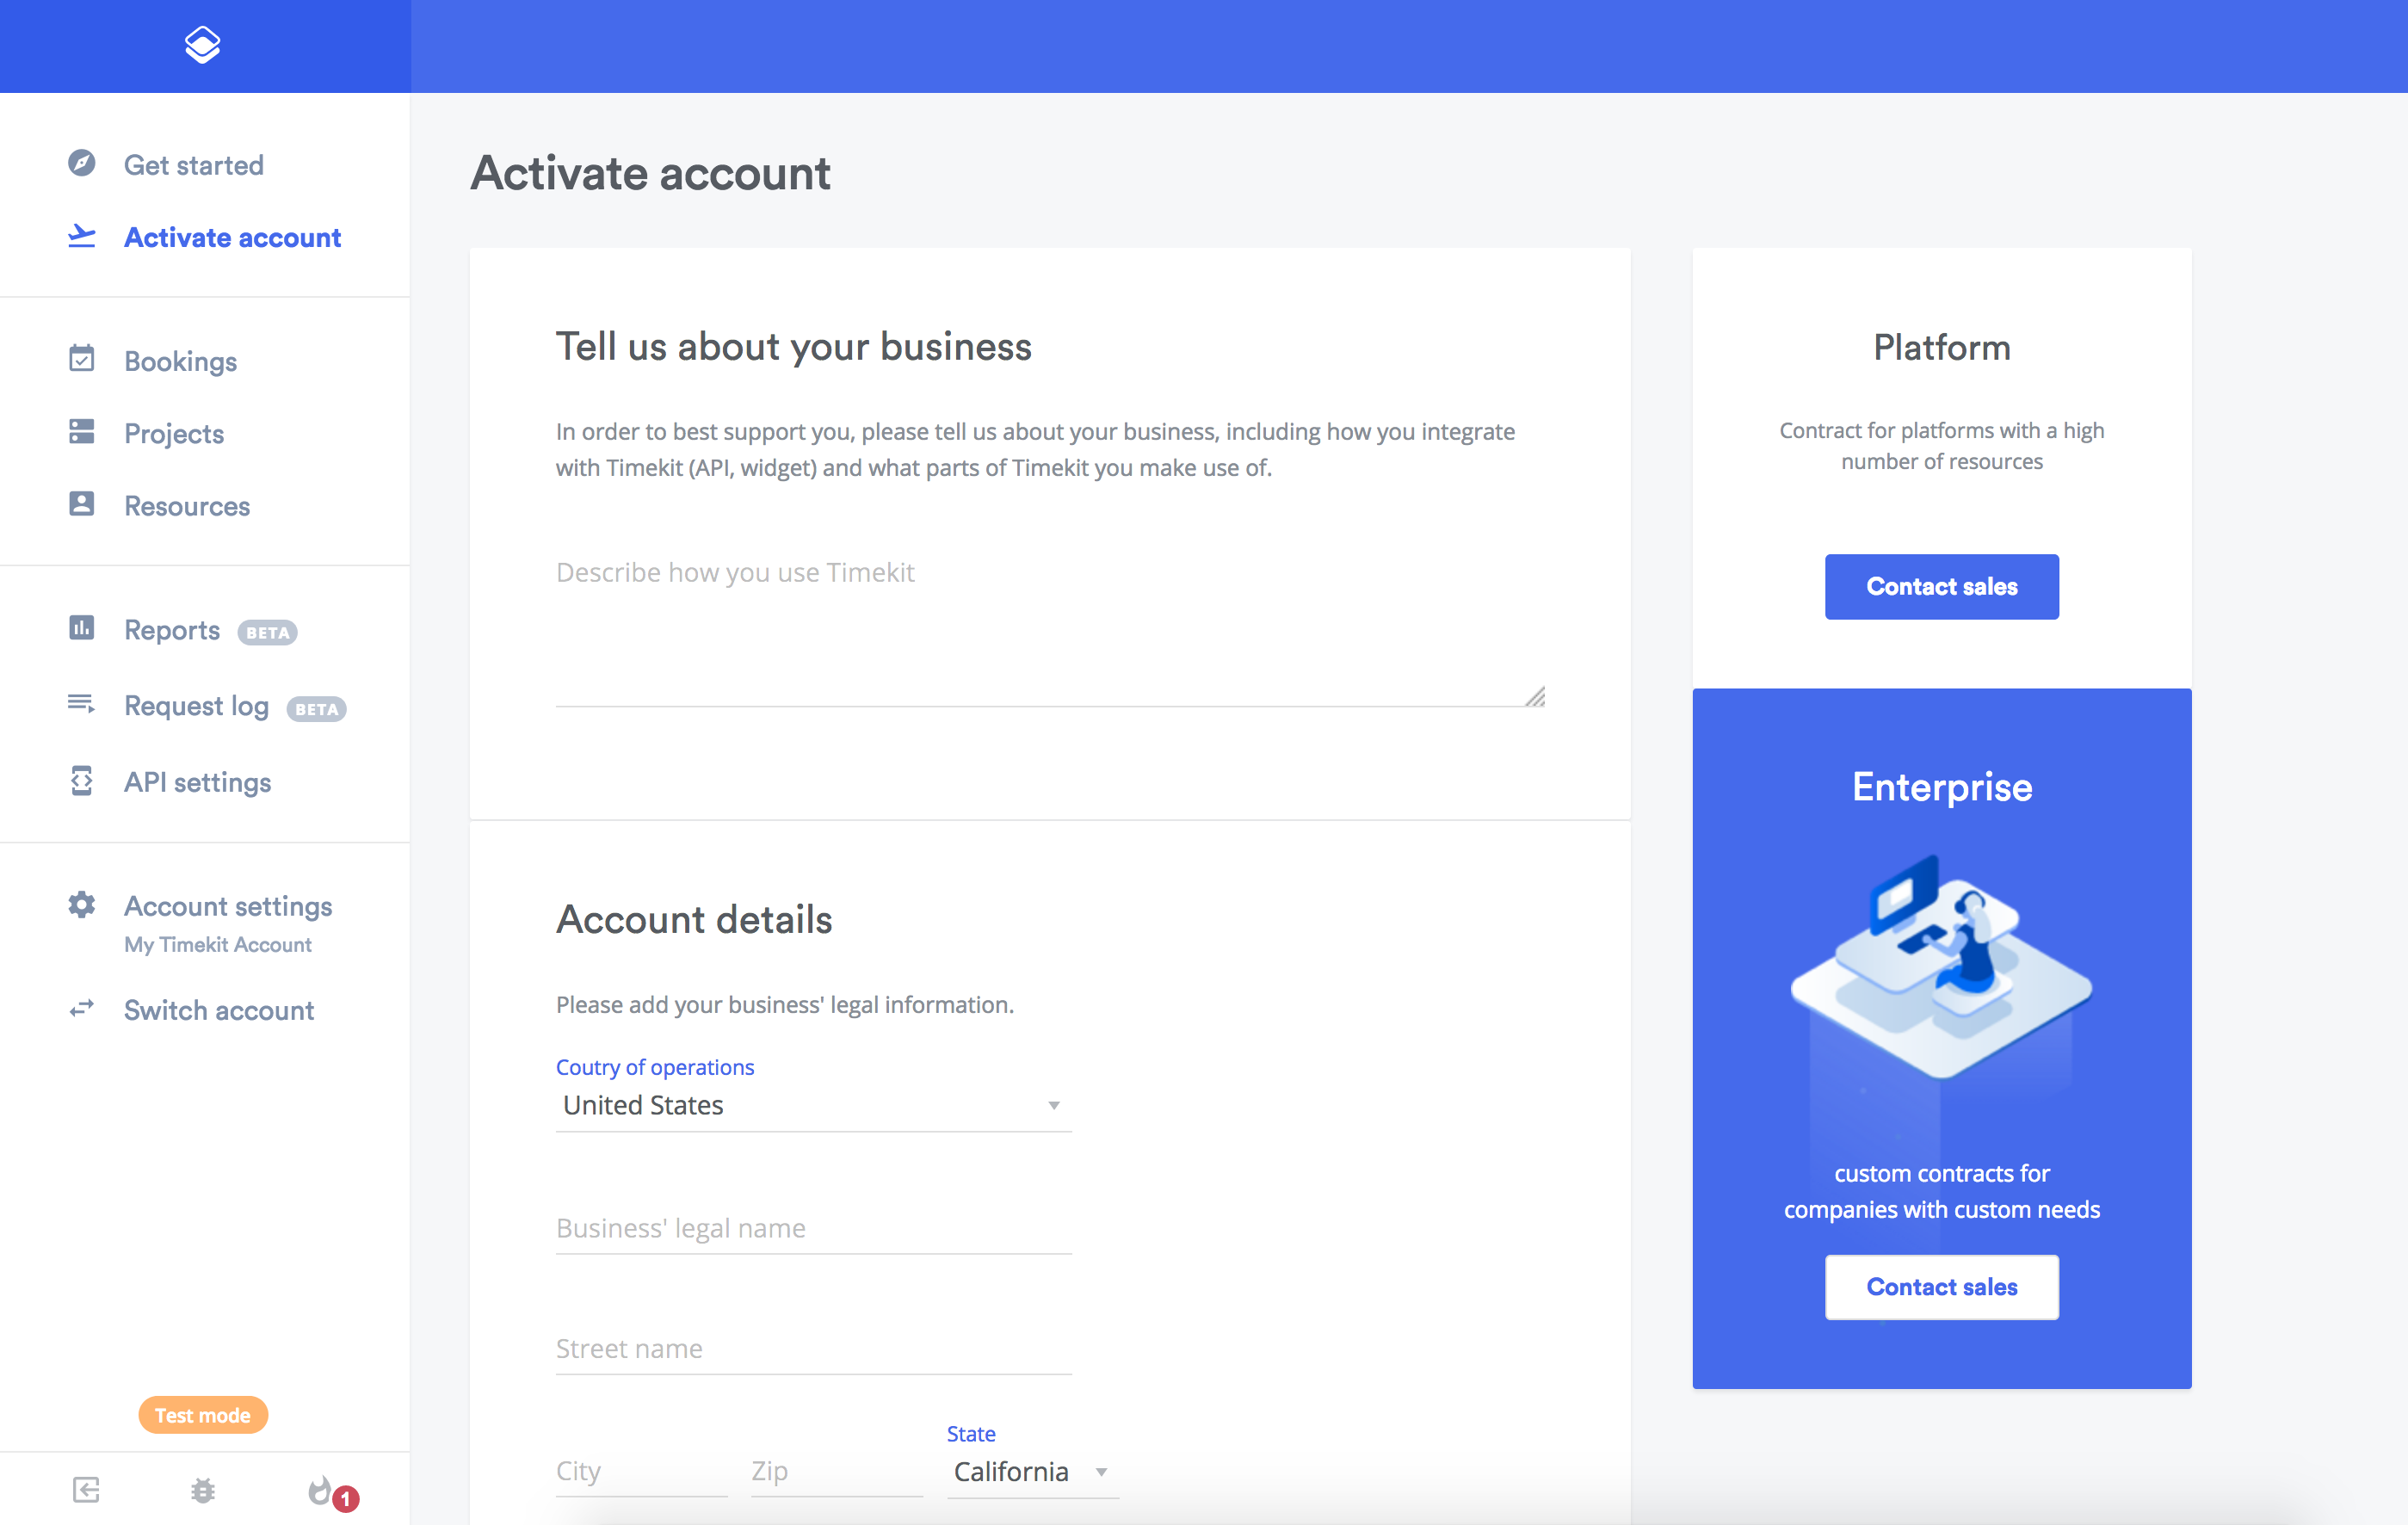
When you are ready to go live with your app, you need to activate your account from the Admin Dashboard.

👍

Ready to take off? 🚀

Head over to the Admin Dashboard and activate your account!
2798

Updated almost 5 years ago